Need a cheap and easy home revamp? Here’s how to tile your own splashbacks.

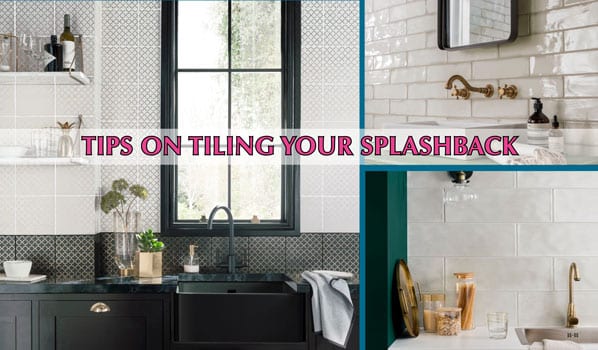
Kitchens and bathrooms are the most important rooms in the house, and a little DIY can bring them bang up to date. Claire Spreadbury learns to tile...

diy tiling splashback

When it comes to DIY, some rooms are easier to tackle than others. Kitchens are best left to the experts, and bathrooms – aside from a bit of resealing – can often be the same.

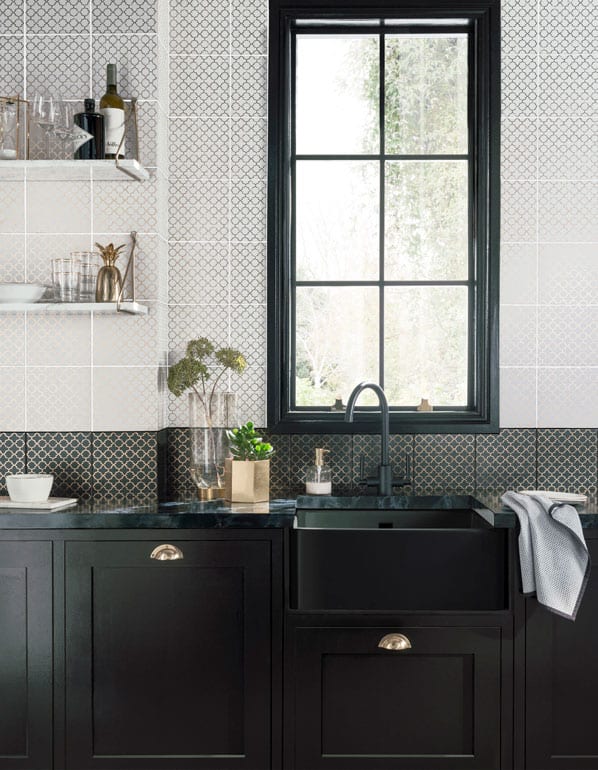
One easy update that is pretty simple to do, however, is splashbacks. They sit behind the sink and are essential to stop water being sprayed everywhere when hands, fruit, vegetables and whatnot are washed. It is tiling, but it tends to be quite a small area, so should be achievable for most people.

revamp tiling tile splashbacks

“Adding a splashback is a great way to inject a touch of personality into your kitchen, by creating a focal point,” says Sian O’Neill, head of marketing at Topps Tiles. “It’s also a very cost-effective way of updating the appearance of a room and giving it a new look, just by making some small changes.”

What you will need

There are a few things to keep in mind when tiling your own splashbacks. Firstly, says O’Neill, ensure you have all the right equipment – including the correct adhesive, a notched trowel, safety goggles, spirit level, tile spacers and a cutter. Next, make sure you work out how many tiles you need by measuring the area and adding 10% for any cuts and wastage.

revamp tiling tile splashbacks

Choosing your tiles

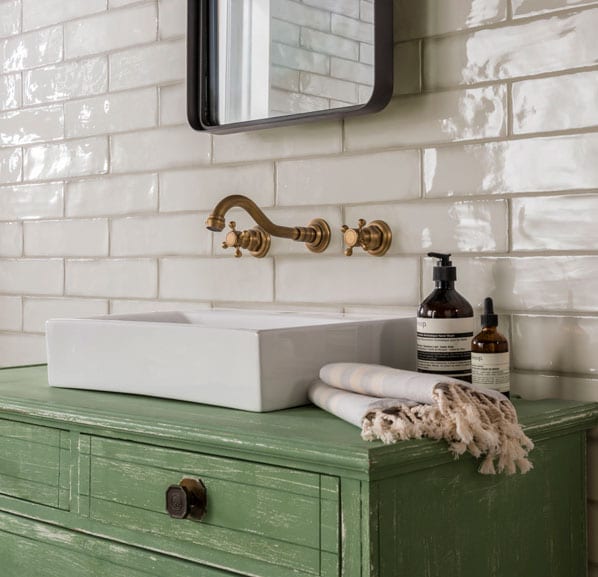
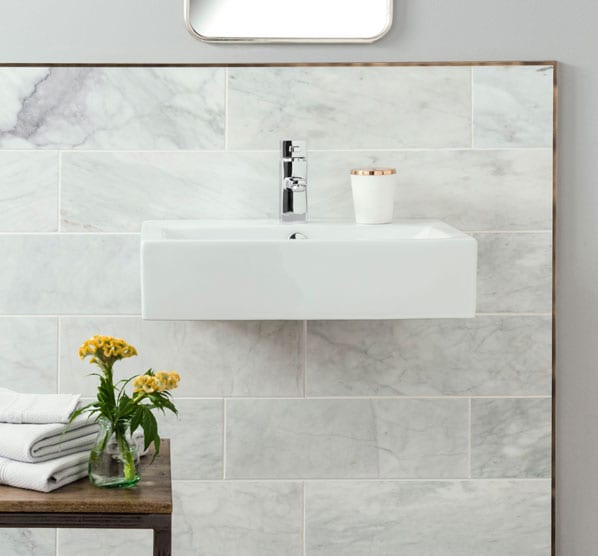
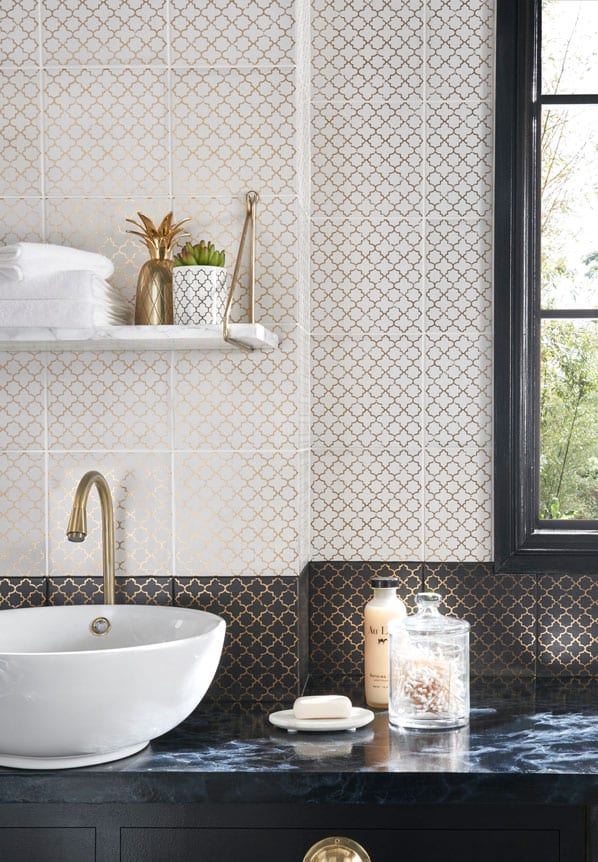
“As splashbacks create a focal point, they lend themselves to more vibrant colours or patterns to make a real statement,” notes O’Neill. “They also provide the ideal canvas to be brave with statement shapes, so consider the lay pattern before you start.”

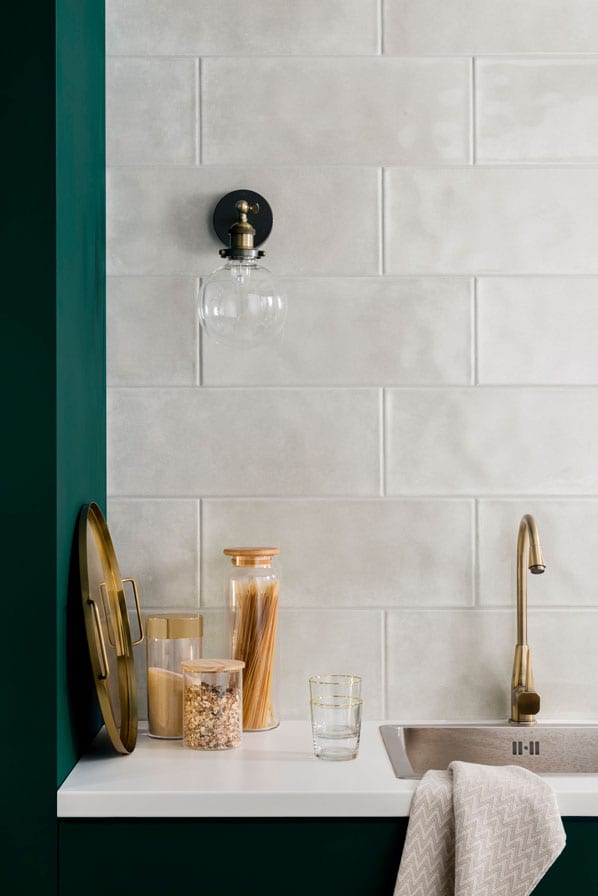
A herringbone style, for example, can add real interest to the area and create a unique look.

“Block colours can offer a classic and timeless look, while intricately patterned tiles create more of a contemporary finish,” she adds. “And when it comes to the type of tile, ceramic or porcelain tend to be more favourable than the likes of natural stone, as they are lower in maintenance – an important consideration given the fact your splashback needs to be water resistant and less susceptible to staining.”

revamp tiling tile splashbacks

Think about the grouting

Not many of us have spent much time deliberating grout, but there are different colours available and – despite the subtle differences – choosing the right grout can really enhance the overall effect. “It’s important not to overlook the colour of the grout chosen, as this can provide the all-important finishing touch. Darker grouts can offer lower maintenance compared to the traditional white, when used in areas with high activity or likely food splatters,” says O’Neill.

revamp tiling tile splashbacks

Preparing and tiling the wall

“When you have your tiles and all the necessary tiling equipment, prepare the wall to ensure it is smooth, clean, completely dry and free from any dust or debris,” says O’Neill. “Apply an even layer of adhesive to a tiling or notched trowel, and starting from the corner, spread the product over the area of two or three tiles at a time. Place the tiles firmly on the adhesive, using spacers to create an even layout.

“Allow your tiles to dry for 24 hours, and then fill the spaces between each tile, using grout and a grout float tool. Pushing the grout deep into the joints will prevent moisture from getting behind the tiles, which is particularly important in kitchen areas.

“Once finished, wipe down your tiles with a clean, damp sponge, working at a 45-degree angle down your surface.”

And that’s it! Leave everything to properly dry, then show off your handy work to all your friends and family.

revamp tiling tile splashsbacks

Before you start any work on your home, if you wished to discuss the potential value that you can add, contact your local office for a no obligation market appraisal.

https://www.mccarthyholden.co.uk/branches/

Ghoulish Halloween Gardens!

Getting in the Halloween spirit? Hannah Stephenson reveals some of the 'foul and creepy' specimens that could be lurking in your hedges and borders...

halloween garden design plants

Mischievous trick-or-treaters dressed as ghosts and ghouls may be on the prowl on your doorstep this Halloween – but step into your garden and you might find some spooky spikes, noxious nasties and creepy creepers lurking in your borders.

Some plants can sting, burn, cut or emit an acrid, foul-smelling odour. Others have sinister-sounding names or connections with witches or the devil, while there are some which are said to help ward off evil.

Get yourself into the mood for Halloween with this guide to horticultural horrors…

1. Eye-poppers

When you see the spooky white berries with a single black spot emerging from red stems, you can understand why this sinister-looking plant is nicknamed the Doll’s Eye (Actaea pachypoda). All parts of this herbaceous perennial are poisonous and when ingested can cause hallucinations.

halloween garden plants design

2. Strangling suspects

Also known as strangleweed, devil’s guts, witches shoelaces and devil’s ringlet, but better known as dodder (Cuscuta), this pernicious relative of bindweed twines itself round a host plant and inserts itself into the host’s vascular system – sucking out everything it needs to live and killing its plant victim in the process.

halloween garden plants design

3. Prickly subjects

Among the most prickly of plants is the hawthorn. As a thorny hedge, it will stab its thorns into your fingers, even when you’re wearing the toughest gloves, and mature plants will even pierce the soles of gardening shoes – although on the plus side, a hawthorn hedge can also deter even the most persistent burglar.

Other prickly candidates include creeping juniper, common holly, firethorn (pyracantha), juniper and purple berberis.

halloween garden plants design

4. Toxic terrors

Aconitum, also known as monkshood or wolfsbane, is among the most toxic of plants, with ingestion of even a small amount causing severe stomach upsets. But it also slows the heart rate, which can prove fatal.

You don’t just have to eat it to suffer the symptoms. The poison can be absorbed through the skin, via open wounds, and there have even been reports of people feeling unwell after smelling the flowers.

halloween garden plants design

5. Foul smelling specimens

Then there are the plants which literally smell like rotten corpses. The stinking iris, Iris foetidissima, for example, absolutely reeks. If you can stand the smell, or remain downwind from it, this bulb puts on a spectacular display in autumn and winter, when its gigantic seed pods burst open to reveal brilliant orange and sometimes red seeds.

halloween garden plants design

6. Acrid arums

The titan arum (Amorphophallus titanum), also known as the ‘corpse flower’ as it smells like decomposed bodies when in flower, is nevertheless beautiful, growing up to 3m tall, its gigantic crimson flower spanning 3m, and is a great magnet for pollinating insects.

This acrid arum prefers the rainforests of Sumatra as its natural habitat, although you can admire it in the exotic sections of botanical gardens such as the Eden Project in Cornwall and at Kew, where it’s currently flowering.

Others in the bad smells league include Eucomis bicolor, the pineapple lily, and the dead horse arum (Helicodiceros muscivorus), named for obvious reasons.

7. Ghostly apparitions

The ghost plant (Monotropa uniflora), an eerie white specimen found in shady woods is a rare sight.

It has no chlorophyll, the chemical that allows plants to absorb energy from the sun and typically gives plants their green colour. In fact, the ghost plant is a parasite which sucks on fungi connected to a host plant, which is usually a nearby tree. The fungi acts as the middleman for the nutrients provided by the tree.

halloween garden plants design

8. Bizarre bulbs

While many bulbs bring heady fragrance, including the sweetly-scented hyacinth, others have pretty horrible odours, including the imposing crown imperial (Fritillaria imperialis). But don’t let the smell put you off too much, because its impressive orange flowers make more of a statement than its whiffy pong.

halloween garden plants design

9. Poisonous potions

No Halloween would be complete without its share of witches, whose potions have been linked with some of our most common plants. Hemlock, for instance, is highly poisonous and closely linked with witchcraft. It doesn’t look significantly different from the hedge parsley or cow parsley which grows along roads, ditches, trails, or the edges of fields.

Its white flowerheads resemble those of parsnips, carrots or angelica, while the bright green leaves are deeply-cut, even feathery and delicate. Yet all plant parts are poisonous, with the seeds containing the highest concentration of poison, causing toxic reactions.

Deadly nightshade (Belladonna), another common plant often found in hedgerows, was one of the main ingredients in witches’ brews during the Middle Ages, while blackthorn is often referred to as a witch’s tree. As late as the 1940s, anyone seen to carry a blackthorn walking stick was suspected of being a witch.

halloween garden plants design

10. Warding off evil

Plants including rowan (Sorbus aucuparia), hazelnut (Corylus avellane) and elderberry (Sambucus nigra) were once thought to be ‘magical’ trees and shrubs, which could ward off witches and evil spirits.

Ancient Celts believed rowan berries gave good health, and that if you planted them near grave sites, they would help the dead sleep.

People would use branches as dowsing rods and make crosses of rowan twigs to protect themselves on Halloween, while in old Europe, householders would put elderberry branches above their doorways to protect their homes from malevolent spirits. Strands of hazelnuts, worn or kept in the home ,were said to bring good luck.

halloween garden plants design
×
Find a Property
M
Country & Equestrian